

Installation Guide
This page runs through the process of how you can get the MASS software up and running on your machine
Note that you cannot perform any designs without a current and activated license. This page will be a dead end if you are not a license holder. Consider this your warning! Licenses can be purchased here and the activation process is covered here.
Step 1: Downloading and Extracting
The first thing you will need to get started is a download link. This would have been provided with your license purchase or with a version release notification email.
If you do not have a download link, please contact MASS support and they will get you one.
Once MASS has been downloaded and the folder extracted, you will be ready to install.
Step 2: Installing the MASS Software
The following steps guide users through the installation of Masonry Analysis Structural Systems.
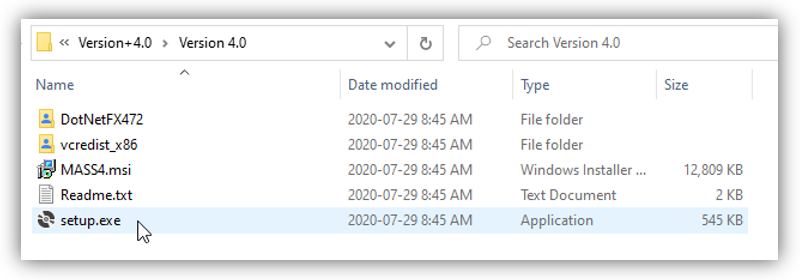
There are 3 files and 2 directories in the MASS™ Download package, as seen in the figure below. For users that have .NET Framework 4 installed (now included in Windows 10) or the C++ runtime, click on the MASS.msi file to begin installation. For users that do not have these prerequisites or are unsure, click setup.exe to begin.
After launching setup.exe please follow the on screen prompts. If installing MASS for the first time(or upgrading from Version 3.0 or older), the C++ runtime will need to be installed.
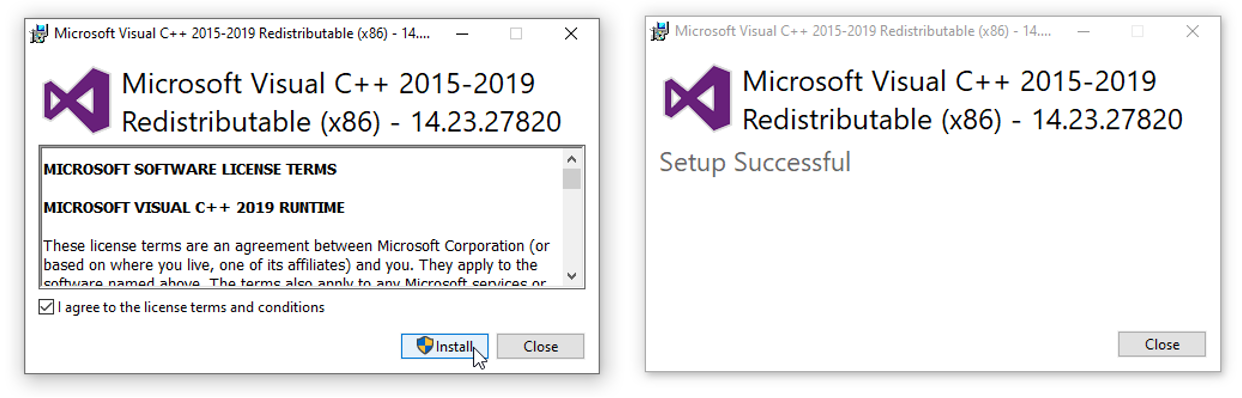
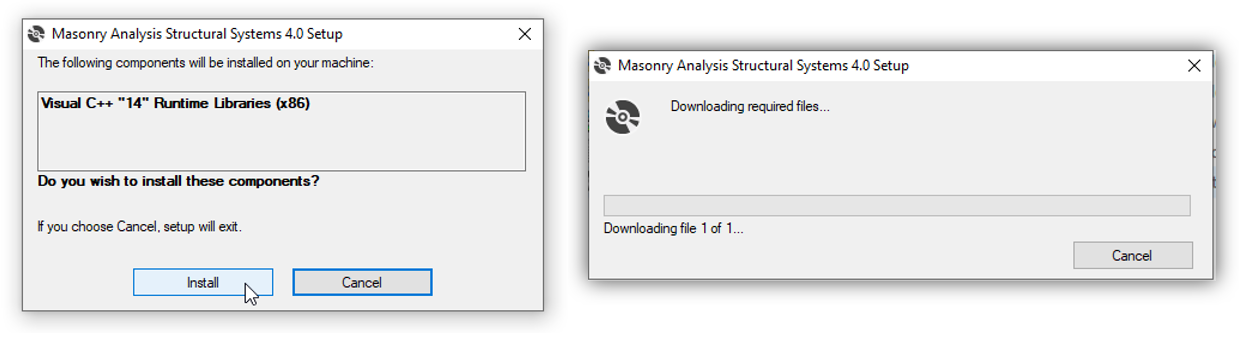 Click “Install” and then close once it has completed. Note that a restart may be promted at this stage.
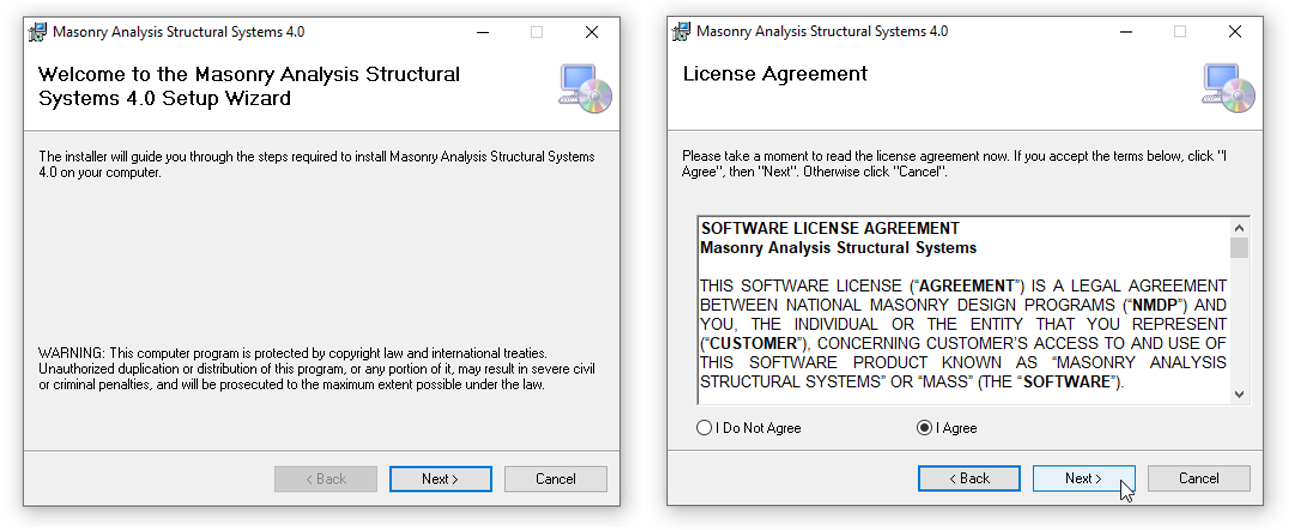
Once the prerequisite program are checked for, the MASS installation can begin and users are prompted by a Setup Wizard. After reading the entirety and agreeing to the End User License Agreement, To proceed with installation, click ‘Next >’
Note: there may be a security popup that appears before this stage is done. Acronym Software is listed in the pop up and they are the trusted source for these files. They are the same company who develops the Woodworks suite of products.
There is an option for the installation to create a shortcut on the desktop. This is enabled by default and can be unchecked at this time. The next stage is where the user can specify the location MASS™ will be placed. By default the folder is placed in
C:\Program Files\Masonry Analysis Structural Systems Version 4.0
Note that for some users, rather than installing in ‘Program files’, MASS™ will be installed in ‘Program Files (x86)’.

After specifying the destination, click ‘Next >’ to continue.
After clicking ‘Next >’ the installation process will begin, as shown
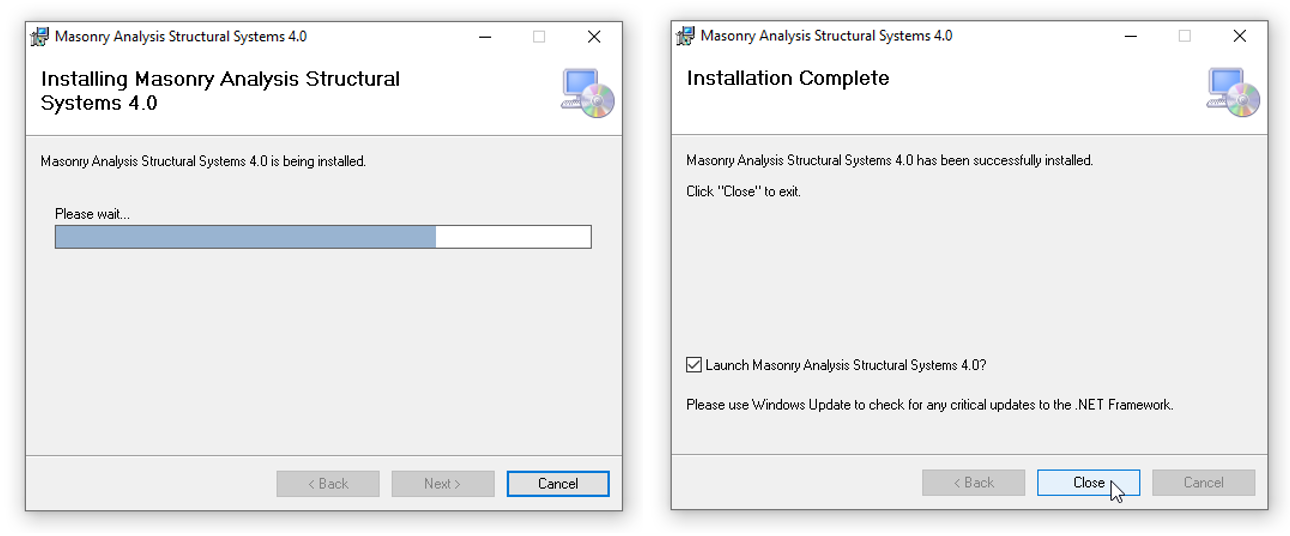
Boom, done!
Once the software is installed, it can be run by clicking the desktop shortcut or searching it in the windows start menu. If running MASS for the first time, it will need to be activated using a current and valid serial number.
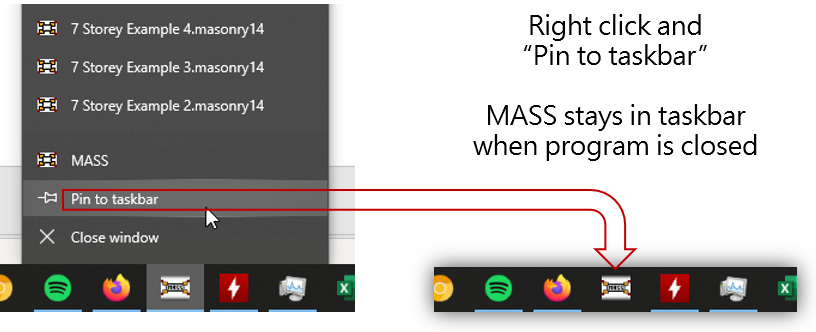
Handy tip for finding MASS quickly
The program can be “pinned” to the taskbar where its icon will appear to quickly launch it when needed.
Continue Reading: Activation Guide
Was this post helpful?